
To remove scratches from your vinyl records it’s recommended to first make sure all dirt and dust is removed from the scratch. This can be done with either a toothpick or a wood glue peeling technique. Finally sandpaper can be used carefully to smooth out and erase the scratches.
Picture this: you’re listening to that limited edition Metallica record that you searched for everywhere for 3 months, and suddenly, you hear it – the dreaded skip, click, POP. When it comes to vinyl records, there’s nothing worse than realizing your latest find is all scratched up. If the scratch is deep enough, it can start collecting dirt, making the quality even worse.
Scratchy LPs aren’t just a problem for your ears. They lead to mistracking, eventually leaving the record unusable. The built-up dirt might also destroy your stylus, which can be expensive to replace.
But wait! Before you give up that record as a lost cause, try these easy DIY ways to fix scratches on your favorite LPs.
Table of Contents
Part 1 – Toothpick To Clean Out Vinyl Scratches

Before we fix the scratch it might be enough to remove dirt and dust from it. All you need is a toothpick and some cleaning materials to remove the stubborn dust in the grooves. Unfortunately, it’s not permanent and needs to be repeated.
Tools – a vinyl brush, a vinyl cleaning solution or DIY equivalent (check step 2), a toothpick
Step 1 – Brush Off the Dirt
- Put your record on the player and turn it on.
- Grab a dry vinyl brush and hold it lightly on the surface of the record. This will brush away dirt and static buildup.
- Keep the brush on the record for 1-3 spins, then hold it at an angle and slowly remove it from the record.
- Make sure you clean your brush after!
Step 2 – Clean It Up
- Get a professional vinyl cleaning kit online. These usually have a liquid cleaner, a brush for cleaning your record, and another brush to clean the first brush (brushception!) Follow the directions to clean the record.
- Cleaning on a budget? Make your own solution at home! Mix 0.5% isopropyl alcohol to 99.5% distilled water, and 1 or 2 drops of dishwasher fluid in a spray bottle. (Read this if you’re worried about using alcohol on vinyl records)
- Put the record on a microfiber cloth, then spray it with your cleaner. Wait half a minute to let the liquid soak in, then wipe it away with another microfiber cloth.
- Soak another microfiber cloth in distilled water, then wipe down both sides of the record.
- Don’t spray the label of the record, and don’t forget to clean both sides!
Step 3 – It’s Toothpick Time!
- Find the scratch on the record, then grab a toothpick.
- Angle it diagonally and press it softly into the scratch, moving it back and forth.
- Repeat for any other scratches on the record.
Part 2 – Use Wood Glue Peeling To Fully Clean The Record Grooves
While you might not have heard of wood glue (unless you work for a hardware store), it’s for more than just furniture. Unlike the toothpick method, you don’t have to search for the scratches yourself. Unfortunately, this one isn’t permanent either and may have to be repeated.
Tools – a bottle/tube of wood glue, a cardboard piece or card around 50mm wide, a table (optional)
Step 1 – Make Wood Glue Lines on the Record
- Set the record to spin on your turntable (or set it up on a regular table if you’re worried about getting glue on your record player).
- Grab your bottle of wood glue and put the tip at the edge of your inner label.
- Squeeze the bottle lightly and let the glue create lines on your record.
- Stop when you reach the outer edge and the record is covered with thin, even lines of glue.
- If you squeeze out too much, that’s okay! The amount of glue will eventually even out. If it’s gone past the outer edges, wipe it up with a paper towel.
Step 2 – Cut Some Cardboard
- Take your card or piece of cardboard and keep the edge on the outer part of the record.
- As the record spins, the glue will spread out of the lines and cover the outer part of the record.
- Pick up the card and move it to the inner part of the record. Hold it there till the inner part is completely covered in glue as well.
Step 3 – Leave It Out to Dry
- Leave the record on the turntable (or table) and let the glue dry overnight, preferably for 24 hours.
- Once dry, the glue will form a thin, translucent sheet. Check to see if it’s fully dry by lightly touching the outer edge with your finger. If it’s still wet, let it sit for another 1-2 hours.
Step 4 – Peel It!
- Use your finger and thumb to gently pick up the sheet at the outer edge of the LP.
- Continue to lift it slowly and peel it off in one piece.
- If it tears, just start at another place on the outer edge.
Step 5 – Test It Out!
Try out the part that sounded weird to make sure the scratch isn’t a problem anymore.
Part 3 – Use Sandpaper To Smooth Out And Remove The Scratches
If you’re looking for a more permanent solution, you can refinish the record surface by using sandpaper. If you store your vinyl properly, you won’t have to repeat this one, but it might make you very nervous! If you choose to do this, approach with care.
Caution: If the scratch has destroyed the entire groove, or dirt has melted into the vinyl, this method won’t help.
Tools – 1500 grit or finer sandpaper, a towel, a sink
Step 1 – Clean Up
- You can follow either Method 1 or 2 for a pre-sanding cleanup.
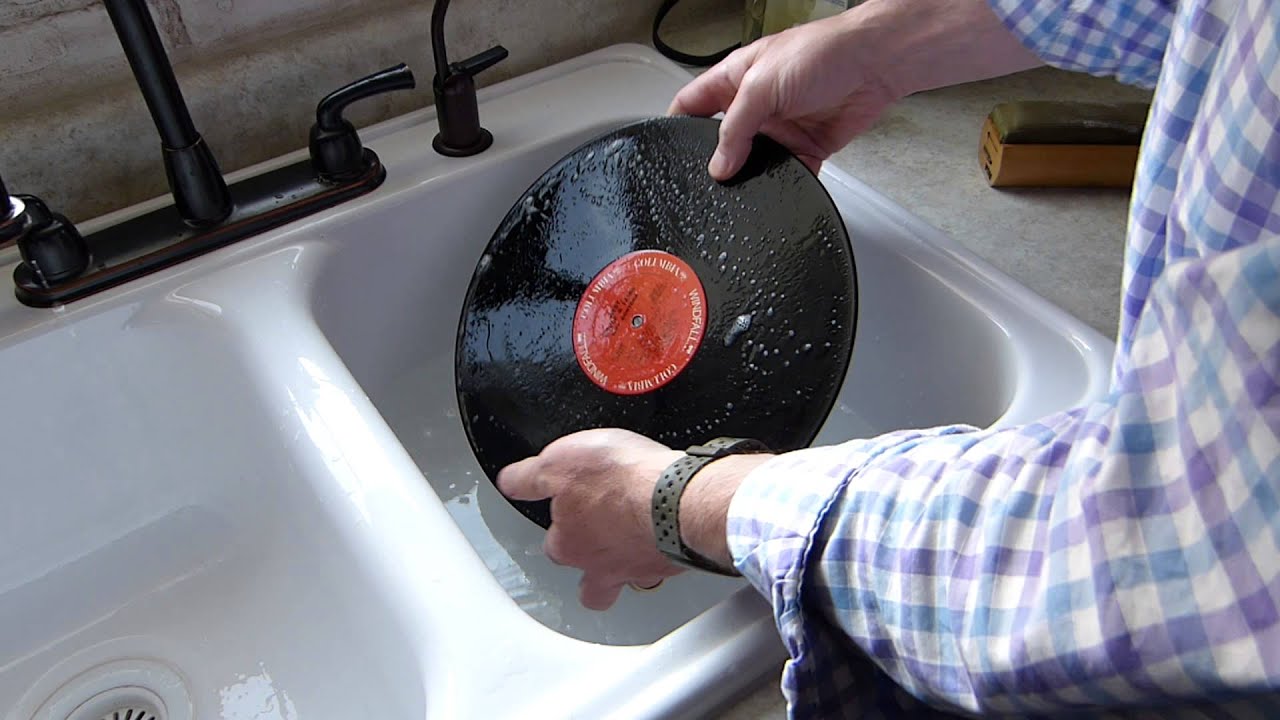
Step 2 – Head to the Sink
- First, wash your record. It might sound weird, but this method is easier if the disc is wet.
- Grab some of the sandpaper and wet it. You can add a tiny bit of liquid soap to make it smoother.
Step 3 – Sanding Time!
- Place the record on a hard, flat surface.
(Hint: Keeping it on a counter with the edge of the disc hanging off slightly lets you get a good grip on it!)
- Rub the sandpaper very lightly all over the record on both sides. Use a curving motion that goes along the grooves.
- If you see the smooth surface of the record getting dull, you’re sanding too hard! Remember to use extremely light pressure.
- Keep wetting the record and the sandpaper if they dry up.
- Try not to go over any area more than 4-6 times. If scratches remain, sand that area 2-3 times again.
- You might see small scratches from the sandpaper, but these shouldn’t damage your record.
Step 4 – Wash and Test
- Wash the vinyl dust off your record to prevent damage to your needle and your disc.
- The damaged upper part of the grooves will be gone thanks to the sandpaper, which leads to crisper sound.
Conclusion
Congrats – you now have 3 easy ways to fill in and erase scratches from your vinyl records. Don’t forget to store your records properly in their sleeves, and touch them as little as possible. This will help minimize scratching and the need for cleaning. Let me know if this helped you, and if you have any questions or comments, drop them below!
Thanks for reading. I hope this was helpful. I’d also love it if you checked out my other Educational articles like this one.
No responses yet